|
•
Jet's Dutch Tutorials
Jet's Original Tutorial here in Dutch
What you need for this Tutorial 1 Background that will match the tube you are using or use the Supplies provided Tubes - Place in a folder of your choice Jet-woman28-november-2007 jet-tekst1-cold jet-tekst2-cold Brush - Place in the Brush Folder in PSP PspBrush - @cb-texturizer1 BrushTip_@cb-texturizer1.PspScript PSPSelection - Place in the Selections Folder in PSP If you use other tubes and backgrounds, you will have to play around with the Blend Mode and Opacity as every colour have a different effect.
Download Supplies
Just left click on it and drag it to where you want it to go. The pencil will stay in position until you close your browser. Drag and Drop Script: © Dynamic Drive (http://www.dynamicdrive.com)
Let's Start! Open the Tubes and Background in PSP File - New - New Image : 800 x 600 transparent Set the Foreground colour on : #000000 (Black) Background colour on : #2f3988 (Blue) Make a Gradient with the following settings: 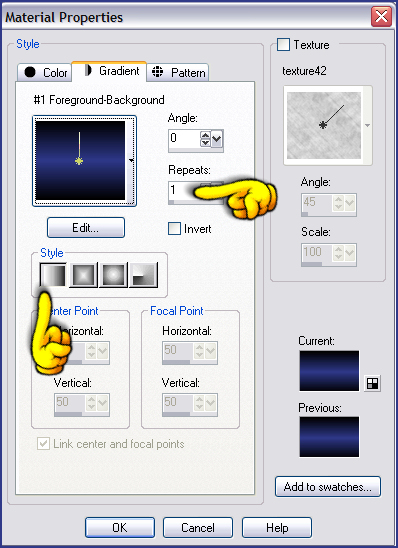 Floodfill the Layer with the Gradient Layers - New Raster Layer Switch the colours so that the Foreground colour is on : #2f3988 (Blue) Activate the Brush Tool - Look for the Brush : @cb-texturizer1 with the following settings :  Apply the Brush once (1x) in all the corners 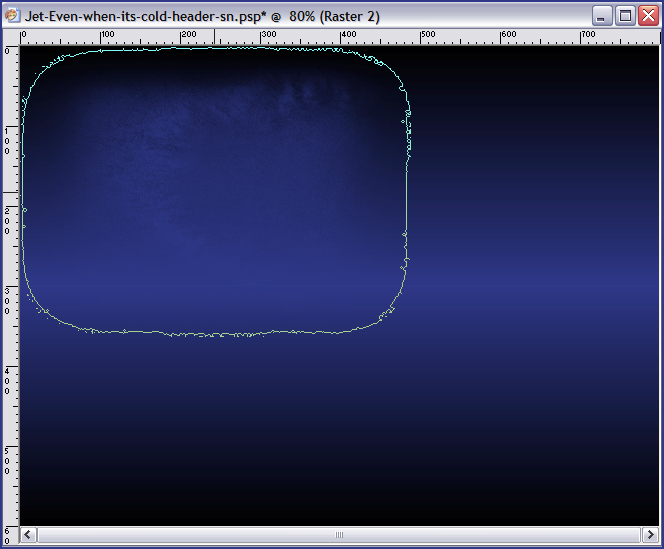 Layer Palette - Opacity : 40 Effects - Edge Effects - Enhance Layers - New Raster Layer Selections - Load/Save Selection - Load Selection from Disk Look for : Jet-cold1 Floodfill the Selection with the Gradient Selections - Select None Effects - Texture Effects - Blinds, with the following settings: 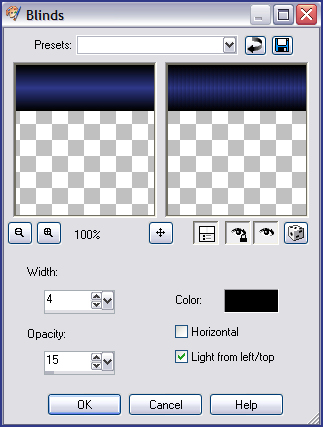 Effects - Edge Effects - Enhance Layer Palette - Opacity : 70 Layers - Duplicate Image - Flip Layers - New Raster Layer Selections - Load/Save Selection - Load Selection from Disk Look for : Jet-cold2 Floodfill with the Gradient - with Invert ticked! 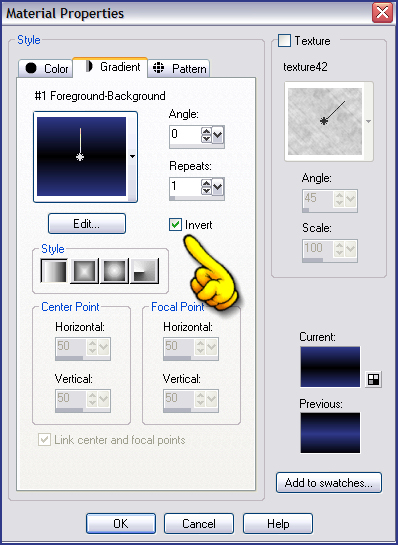 Selections - Select None Effects - Texture Effects - Blinds : with the same settings as before Layer Palette - Opacity : 70 Effects - 3D Effects - Drop Shadow, with the following settings: 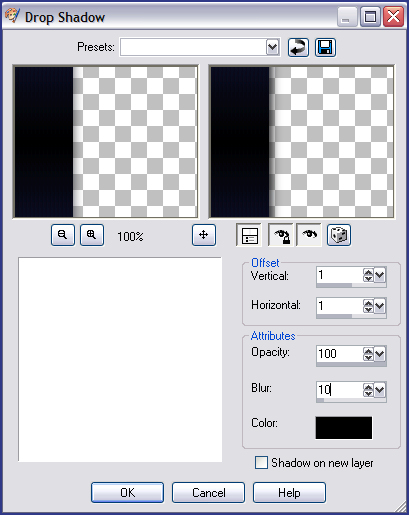 Layers - Duplicate Image - Mirror Layers - New Raster Layer Selections - Load/Save Selection - Load Selection from Disk Look for : Jet-cold3 Open your background or the one in the Supplies folder : Through_winter_and_ice_by_m0nni.jpg Adjust - Hue and Saturation - Colorize, with the following settings: ~Note : Do not close the background!~ 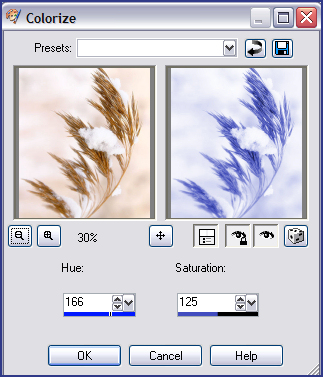
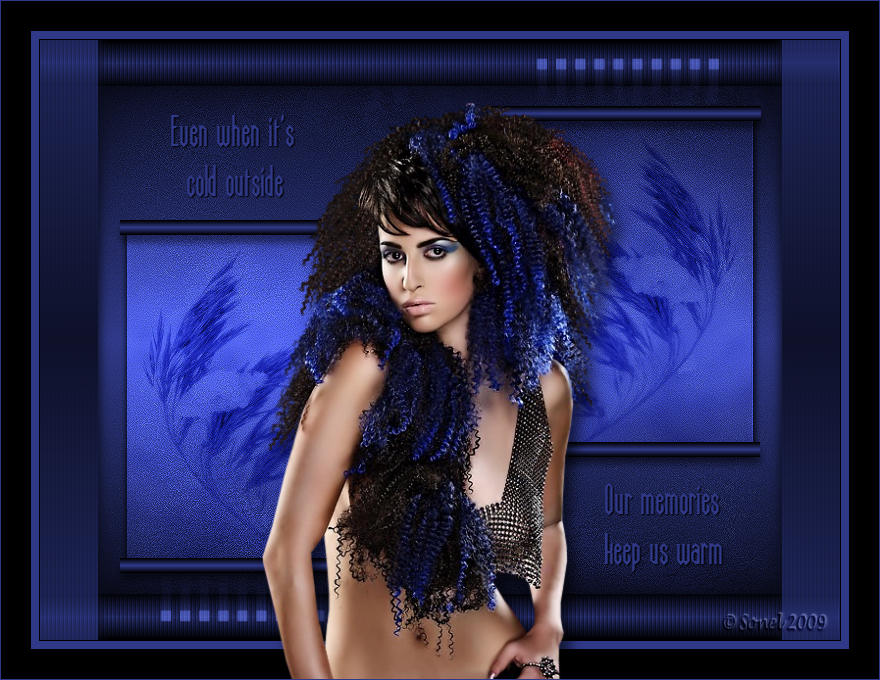
(If you are using different colours, adjust the colours to your choice) Edit - Copy Go back to your working canvas 800 x 600 Edit - Paste into Selection Selections - Select None Layer Palette - Blend Mode : Overlay Effects - 3D Effects - Drop Shadow, with the same settings as before Layers - New Raster Layer Selections - Load/Save Selection - Load Selection from Disk Look for : Jet-cold4 Open the colorized background of Through_winter_and_ice_by_m0nni.jpg Image - Mirror Edit - Copy Go back to your working canvas 800 x 600 Edit - Paste into Selection Selections - Select None Layer Palette - Blend Mode : Overlay Effects - 3D Effects - Drop Shadow, with the same settings as before Layers - New Raster Layer Selections - Load/Save Selection - Load Selection from Disk Look for : Jet-cold5 Floodfill with the Gradient (Invert NOT ticked) Effects - Texture Effects - Blinds, with the same settings as before Effects - 3D Effects - Drop Shadow, with the following settings: 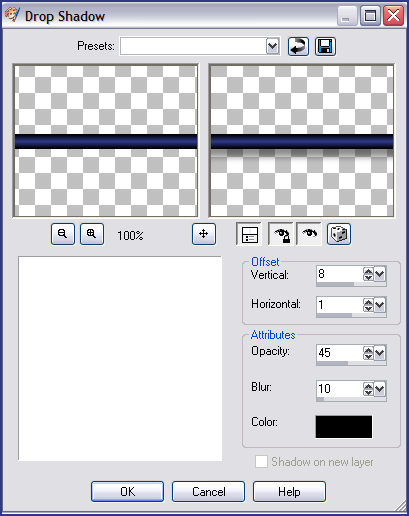 Selections - Select None Layers - Duplicate Move it down to the bottom border of the small image Layers - Duplicate Move it to the top border of the small image on the right Layers - Duplicate Move it down to the bottom border of the small image Layers - New Raster Layer Selections - Load/Save Selection - Load Selection from Disk Look for : Jet-cold6 Floodfill the Selection - Click and Floodfill (3x) with the Background Colour : #2f3988 (Blue) Layer Palette - Blend Mode : Screen Selections - Select None Layers - Duplicate Image : Mirror Image : Flip Image - Add Borders : 1 pixel #000000 (Black) Image - Add Borders : 8 pixels #2f3988 (Blue) Image - Add Borders : 30 pixels #000000 (Black) Open the tube jet-woman28-november-2007.pspimage Edit - Copy Edit - Paste as New Layer Move the tube to the bottom edge of the canvas Effects - 3D Effects - Drop Shadow, with the following settings: 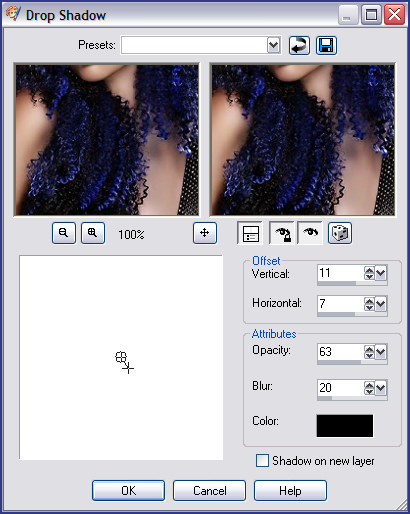 Open the tube : Jet-tekst-cold1.pspimage Edit - Copy Go back to your working canvas 800 x 600 Edit - Paste as New Layer Move the text to the left Effects - 3D Effects - Drop Shadow, with the following settings:
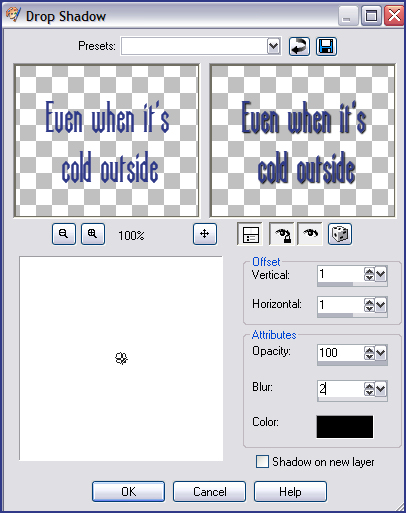 Open the tube : Jet-tekst-cold2.pspimage Edit - Copy Go back to your working canvas 800 x 600 Edit - Paste as New Layer Move the text down to the bottom right corner Effects - 3D Effects - Drop Shadow, with the same settings as before Image - Add Borders : 1pixel #2f3988 (Blue) Place your watermark or name and save as .jpg
TERMS OF USE
• |