|
•
Jet's Dutch Tutorials
Jet's Original Tutorial here in Dutch
Supplies Plugins Needed: Filter - Xero Mistifier  Use this pencil to show
you where you are in the tutorial.
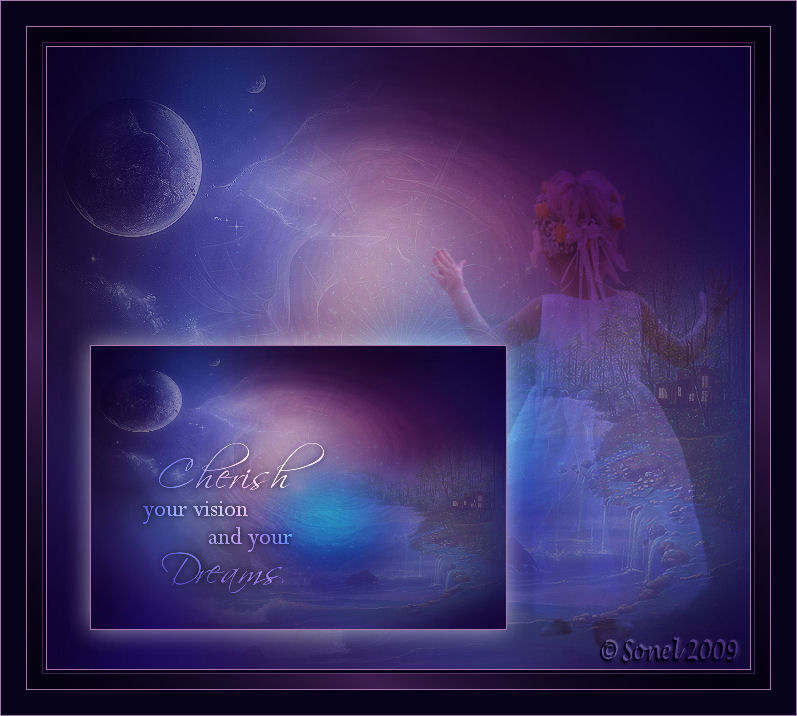
Open "indigobg.jpg" This is the background we are going to work on. Open the tube - "cloudtunnel.pspimage" Edit - Copy Go back to your working image Edit - Paste as New Layer Move it a little bit to the top Effects - Edge Effects - Enhance In the Layer Palette - Set the Opacity on 60 and Blend Mode on Overlay Open the tube "indigostar.pspimage" Edit - Copy Go back to your working image Edit - Paste as New Layer Effects - Edge Effects - Enhance Adjust - Sharpness - Sharpen Set the Layer Opacity on 11 Open the tube "indigomoon.pspimage" Edit - Copy Go back to your working image - Paste as New Layer Move the tube to the left top Make sure that the tube is exactly where it should be Effects - Edge Effects - Enhance Layer Palette - Opacity on 55 and Blend Mode on Screen Layers - Duplicate Adjust - Blur - Gaussian Blur - 38 Layers - Arrange - Move Down Layer Palette - Blend Mode : Dodge Open the tube "tube_by_stephane_mer_003.pspimage" Edit - Copy Go back to your working image Edit - Paste as New Layer Move the tube to the right and to the bottom corner Effects - Edge Effects - Enhance Set the Opacity on 31 Layers - Merge - Merge All (Flatten) Effects - Plugins - Xero - Mistifier Apply with standard settings Edit - Copy Edit - Paste as New Image (we are going to use it again) Minimize Open the tube - "ENF-MAI2008-02.pspimage" Image - Mirror Edit - Copy Go back to your working image Edit - Paste as New Layer Move the tube to the right Layer Palette - Blend Mode : Overlay Opacity - 40 Layers - New Raster Layer Activate the Selection Tool - Custom Selection 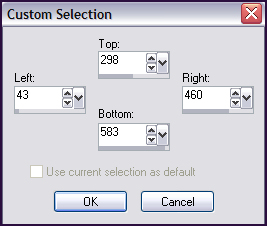 Go back to the Duplicated Image that you minimized Edit - Copy Go back to your working image Edit - Paste into Selection Leave Selection as it is! Layers - New Raster Layer Floodfill with #a877aa Selections - Modify - Contract - 1 pixel Press the Delete Button on your keyboard Selections - Select None Layers - Merge - Merge Down Effects - 3D Effects - Drop Shadow : 0 - 0 - 60 - 35 White (#fffffff) Open "tekstindigo.pspimage" Edit - Copy Go back to your working image Edit - Paste as New Layer Move the text on the duplicated image Layer Palette - Blend Mode : Overlay Effects - 3D Effects - Drop Shadow : 0 - 0 - 60 - 10 Black (#000000) Set the foreground colour to : #07021b Set the background colour to : #a877aa Material Properties - Gradient 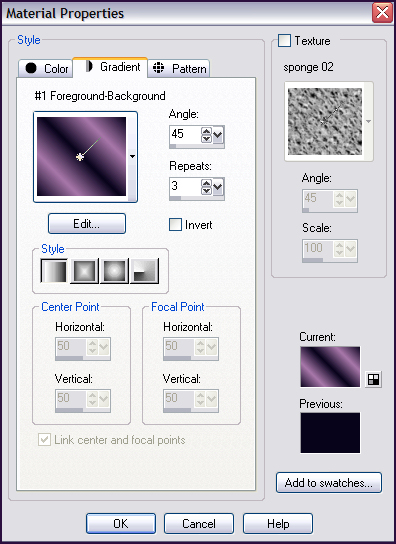 Image - Add Borders : 1 pixel #a877aa (light colour) Image - Add Borders : 3 pixels #07021b (dark colour) Image - Add Borders : 1 pixel #a877aa (light colour) Image - Add Borders : 15 pixels White Select the White Border with the Magic Wand Floodfill with the Gradient Selections - Promote Selection to Layer Leave Selection as it is! Layer Palette - Blend Mode : Multiply Layers - New Raster Layer Floodfill with : #0d042c (dark colour) Set the Blend mode on 50 Selections - Select None Image - Add Borders : 1 pixel #a877aa (light colour) Image - Add Borders : 25 pixels #07021b (dark colour) Image - Add Borders : 1 pixel #a877aa (light colour) Place your name and watermark and save as .jpg
TERMS OF USE Do not copy, rewrite or link in anyway without
• |