|
•
Jet's Dutch Tutorials
Jet's Original Tutorial here in Dutch
What you need for this Tutorial:
Selections - Place in the Selections Folder in PSP Font - Laptop Overscore - Place in a folder of your choice, open and minimize Tubes and Background - Place in a folder of your choice and open in PSP Download Supplies
Plugin/Filters Toadies - What are you? HERE Penta.com - Colordot HERE
Use this pencil to show you where you are in the tutorial. Just left click on it and drag it to where you want it to go. The pencil will stay in position until you close your browser.
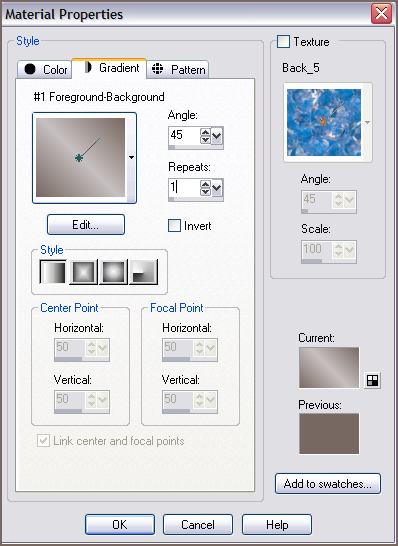
Foreground colour : #776861 Background colour : #c6c0c0 Make a Gradient with the Foreground colour using the following settings:
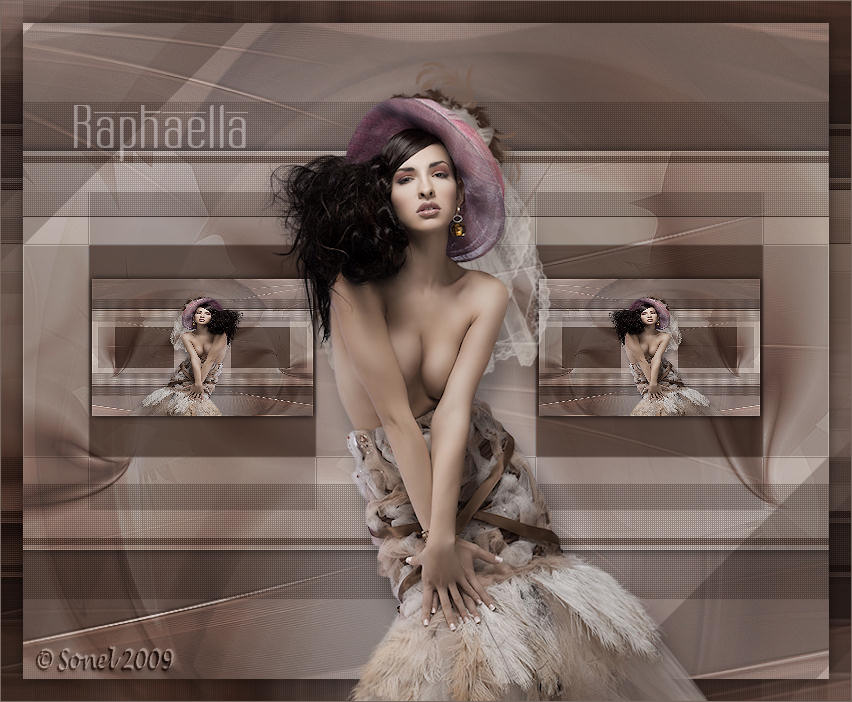
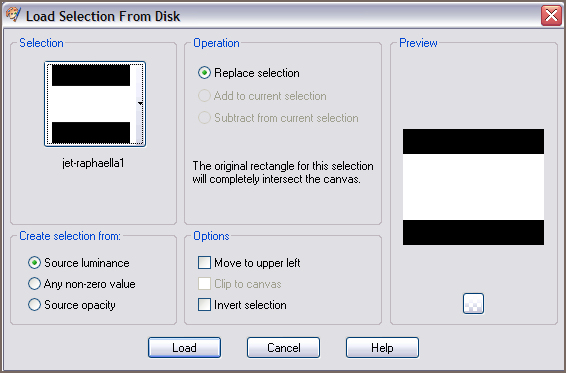
Floodfill the Layer with the Gradient Open raphaellabackground1.pspimage Layer - New Raster Layer Opacity : 50 Blend Mode : Overlay Open raphaellalines.pspimage Edit - Copy Paste as New Layer on your working canvas Layer Palette : Layer Palette: Opacity : 100 Blend Mode : Multiply Layers - New Raster Layer Selections - Load/Save Selection - Load Selection from Disk Look for jet-raphaella2 Zoom in Floodfill with the colour : #776861 Layer Palette: Opacity : 100 Blend Mode : Multiply Selections - Select None Open jet-woman7b-maart-2009.pspimage Edit - Copy Paste as New Layer on your working canvas
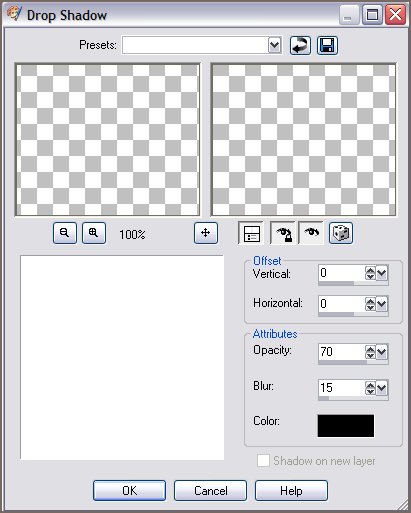
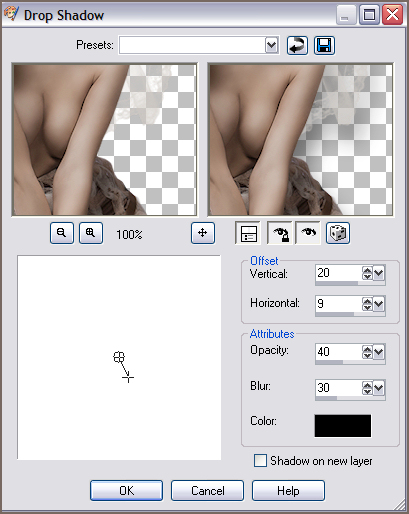
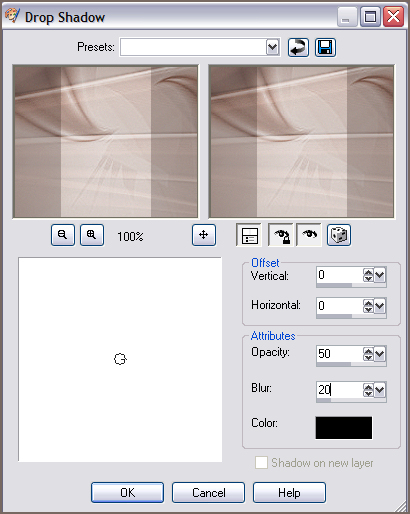
Move her down and to the middle - between the two blocks We are going to work with the copy Layers - Merge - Merge All (Flatten) Edit - Copy Go back to your original working canvas Layers - New Raster Layer Selections - Load/Save Selection - Load Selection from Disk Look for jet-raphaella3 Edit - Paste into Selection Selections - Select None Layers - Arrange - Move Down Adjust - Sharpness - Sharpen Effects - 3D Effects - Drop Shadow, with the following settings: 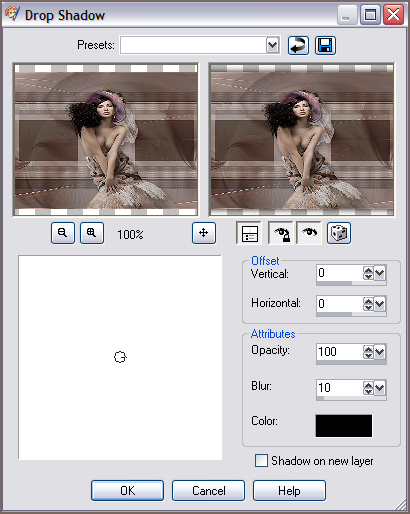 Layers - Duplicate Image - Mirror Layers - New Raster Layer Selections - Load/Save Selection - Load Selection from Disk Look for jet-raphaella4 Floodfill with the colour: #c6c0c0 Effects - Plugins - Penta.com - Colordot Apply with the standard settings Selections - Select None Layer Palette: Opacity : 25 Blend Mode : Overlay Layers - Duplicate Image - Flip Layers - New Raster Layer Selections - Load/Save Selection - Load Selection from Disk Look for jet-raphaella5 Floodfill with the colour: #776861 Selections - Select None Layer Palette: Opacity : 36 Blend Mode : Multiply Activate the Text tool and go to the font : Laptop Overscore Lock the Foreground colour Opacity : 50 Blend Mode : Screen Lock the Layer of the woman tube Activate the Layer below the tube of the woman Layers - Merge - Merge Visible 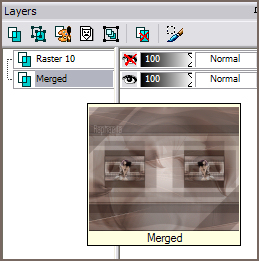 Selections - Select All Selections - Modify - Contract : 22 pixels Selections - Invert Effects - Plugins - Toadies - What are you? Apply with the standard settings : 20, 20 Selections - Promote Selection to Layer Layer Palette : Blend Mode : Multiply Layers - Merge - Merge Down
TERMS OF USE Do not copy, rewrite or link in anyway without
•
|